Common Behavior Topics:
EQUIPMENT
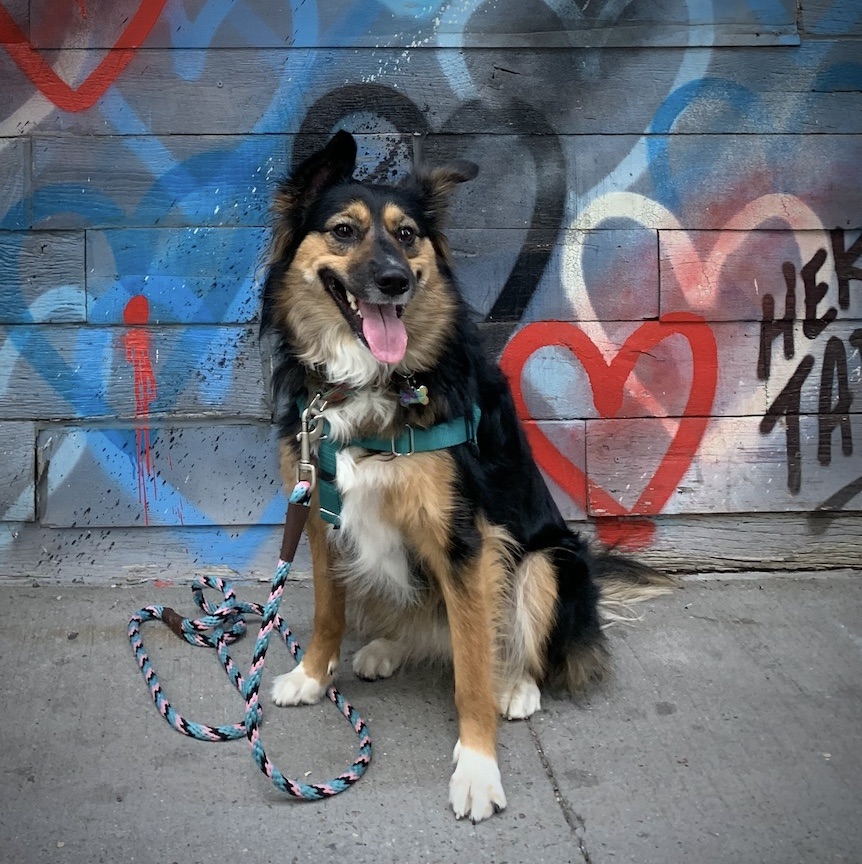
***TWO POINTS OF CONNECTION:
Whatever walking equipment you use, I prefer to have a second point of connection as backup in the city (especially for nervous, strong, or excitable dogs). That way, if one piece of equipment breaks or the dog slips out of it, the leash is still connected.
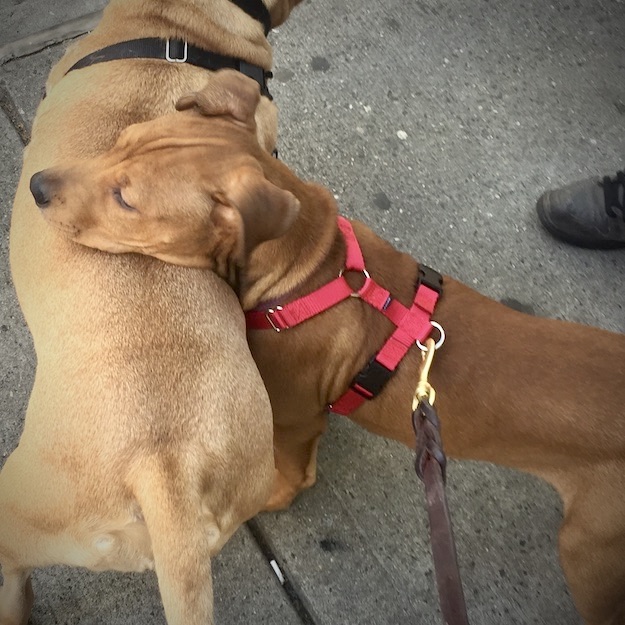
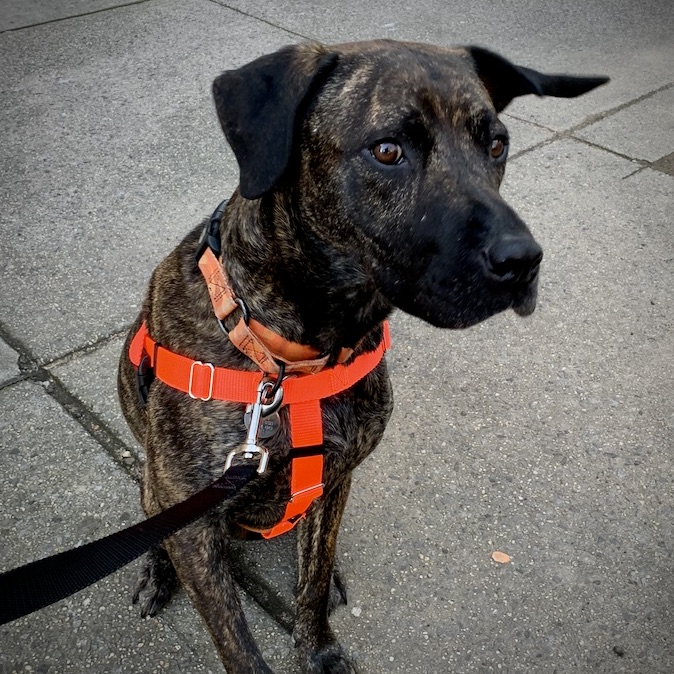
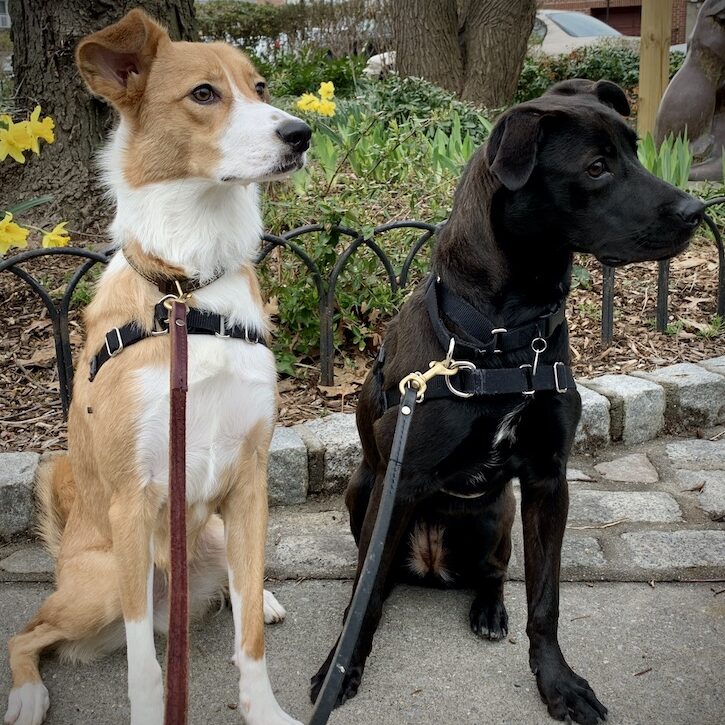
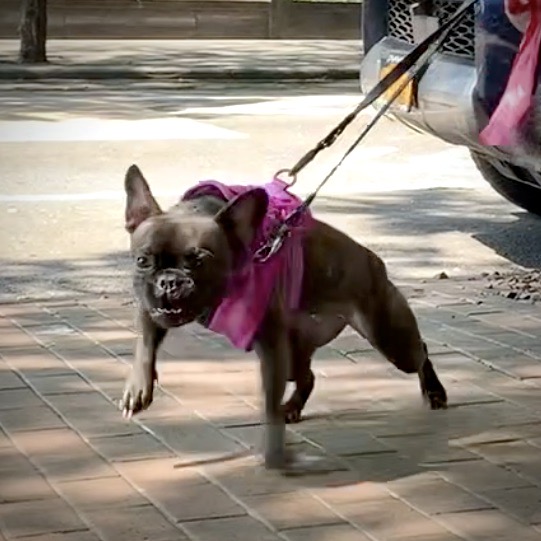
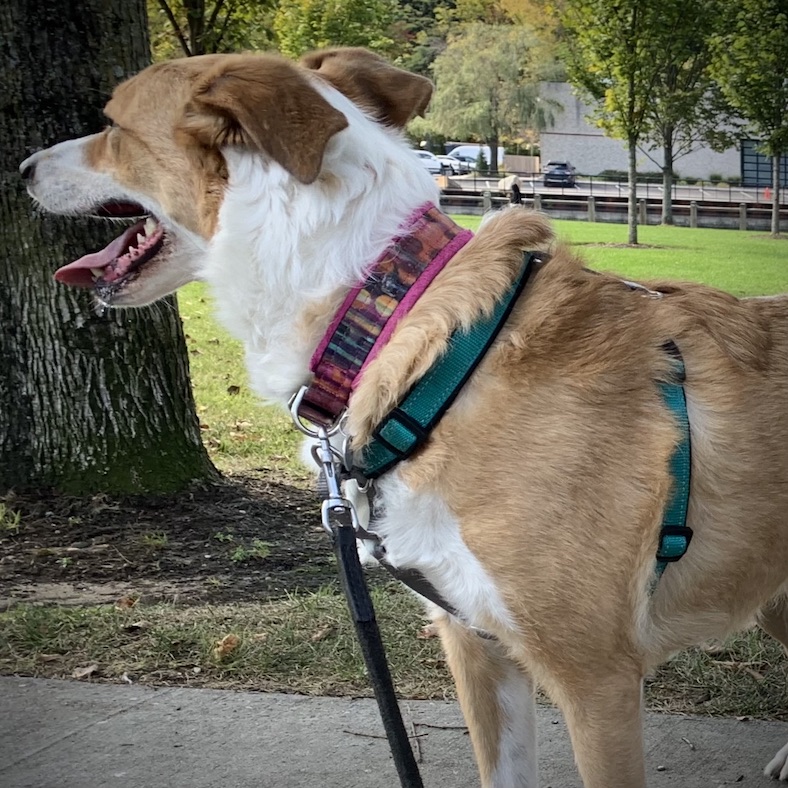
You can achieve this by fastening a single, secure leash clip to TWO separate pieces of equipment D-rings, as pictured below. For example: Front Clip Harness + Martingale Collar, or 2 Martingale Collars
For reactive dogs, I often use a double-ended leash for better control: I can utilize the front clip + back clip on the harness, or the head collar + harness.
Or you can use a Safety Cord. I’m actually surprised that this is not more commonly seen for sale to pet owners, especially in the city. Even outside of the city, I like to know my dog will be secure if my main equipment fails.
Equipment type: Collars
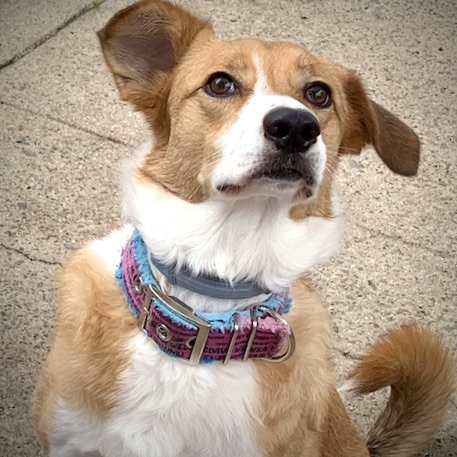
Buckle collar
This is considered a “standard” collar, a single strip of nylon or leather that fastens around the neck with a buckle or clip. It is important to have this collar fitted properly so the dog cannot slip out of it (two average-sized fingers should be able to fit snugly between the collar and the dog’s neck). Even when appropriately sized, some dogs are capable of backing out of this kind of collar, so I generally don’t recommend it as a main piece of walking equipment; I will attach a leash to a buckle collar as back up.
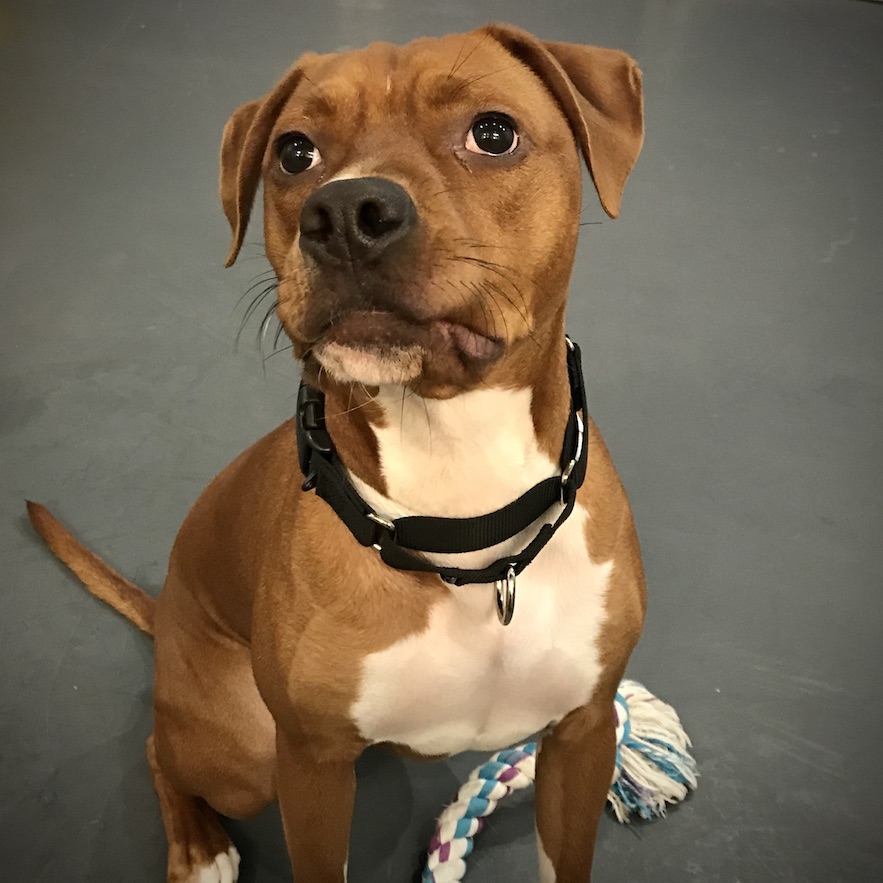
Martingale collar
Also known as a limited-slip collar, this collar loosens and tightens when pressure is applied to the leash. It does not continuously tighten until it reaches the neck - this makes it safer on the dog’s trachea than a full slip collar. If it is fitted properly, the dog will not be able to back out of or escape the collar; this has made it extremely popular for dogs who have a wide neck and a tapering head (greyhounds, shepherds, bully breed mixes).
The collar is made of two loops: the larger loop (usually made of nylon) goes around the dog’s neck, while the smaller loop (usually made of chain or nylon) is responsible for loosening and tightening the collar. The leash is clipped to the D ring; ID tags can be fastened to the smaller side rings.
Prong/Pinch collar
When there is a considerable difference between the strength of the dog and the strength of the handler, a prong collar is sometimes used. It is NOT generally in the Urban Wolves Dog Training toolbox; however, if a client wants to use a prong collar, we want to make sure it is fitted and used properly. We recommend stainless steel versus plastic or coated chrome. The collar should NOT slip over the head; most that we see are too large. A properly fitted prong collar will sit midway to high up on the neck, with a constant pressure all the way around. This prevents the prongs from pinching or bunching around the dog’s trachea. The dog should NOT be allowed too much length of leash, as they can really hurt themselves if they lunge and hit the end of a long lead suddenly. They also can make some unwanted associations: the prong collar works on a principle of discomfort, so the handler may think that the dog is learning barking at other dogs = unwanted pinching sensation. But, if the dog lunges towards another dog and feels the collar pinch, they may simply associate the appearance of other dogs = the pinching sensation. Rather than discouraging the dog from reacting, many dogs will begin barking and lunging MORE to try to make another dog go away (thus, in their mind, preventing the pinch from happening).
Slip collar/Slip Lead
The slip collar, a length of chain or nylon often known as a “choke collar”, has thankfully fallen out of favor with most dog handlers and trainers. It usually requires considerable strength, dexterity, and most importantly impeccable timing to use properly. The dog can only walk on the left side or the right side depending which way it is put on. We do not recommend a slip collar for any type of training, except as a back-up collar for escape artists.
A slip lead, on the other hand, is sometimes a tool I use for convenience - if I need to quickly leash a dog who is misbehaving in my house, it’s nice to have a leash-and-collar combination on standby. I also use it for dogs who are hand-shy: it allows me to put on their walking equipment without touching them so much.
Equipment type: Harnesses
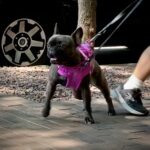
Front Clip Harness
Pictured here are four different styles of front-clip harness.
For strong lunging or pulling behavior, a front-clip harness is often a very effective training tool. It gives the handler a fair amount of leverage to stop the dog’s forward motion and physically redirect them to one side. Training will only work if you can stop the dog effectively - if they are strong enough to drag you to distractions, you won’t be able to redirect their attention. The dog’s strength and pull comes from the front of their body; a properly-fitted front-clip harness reduces that intensity.
The shape varies widely by brand and style; between that and breed differences, fitting them is not necessarily easy or intuitive. The leash clip also makes the front of the harness heavy, making it prone to twisting or slipping. As mentioned above, I prefer to use two points of connection: either I clip the leash through the front of the harness AND the collar (thus keeping it higher on the dog’s chest), or I use a double-ended leash (as with the Freedom harness below).
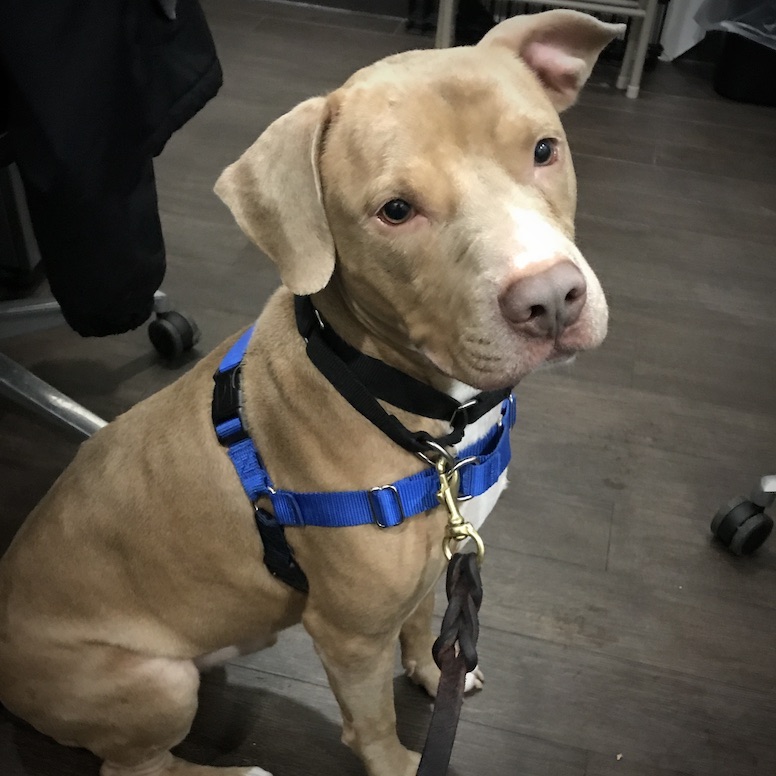
PetSafe Easy Walk Harness
The Easy Walk Harness has three straps: on the dog’s back, on the front of the chest, and on the belly. Most commonly, it is placed by slipping it over the dog’s head and buckling it around the belly. There is only one D-ring for the leash, at the front of the chest. The D-ring is attached to a martingale strap, so the harness tightens and loosens depending on the tension on the leash.
This is one of my most commonly used tools to help control a strong dog - we used it often in the shelter! Once you and the dog understand how it’s put on, it can be a very low-stress but effective tool. This harness in particular attempts to be more helpful by labeling the straps, as well as making the belly strap an alternate color.
*Note: With many dogs, I find that I get a better fit by turning the harness upside down - meaning I flip it so the belly strap is on top instead. For some reason, the belly strap can be adjusted to a shorter length than the top strap. So by flipping it, I can adjust it so that the front strap sits higher up on the front of the dog. This can help with the common problem of the harness hanging down on the dog’s front legs.
The negatives are that it can be challenging to find the right size/adjustment, it can cause chafing under the armpits, and it inhibits shoulder movement. So my goal is to use it as a training tool and not a lifelong tool.
At Chewy.com
At Amazon.com
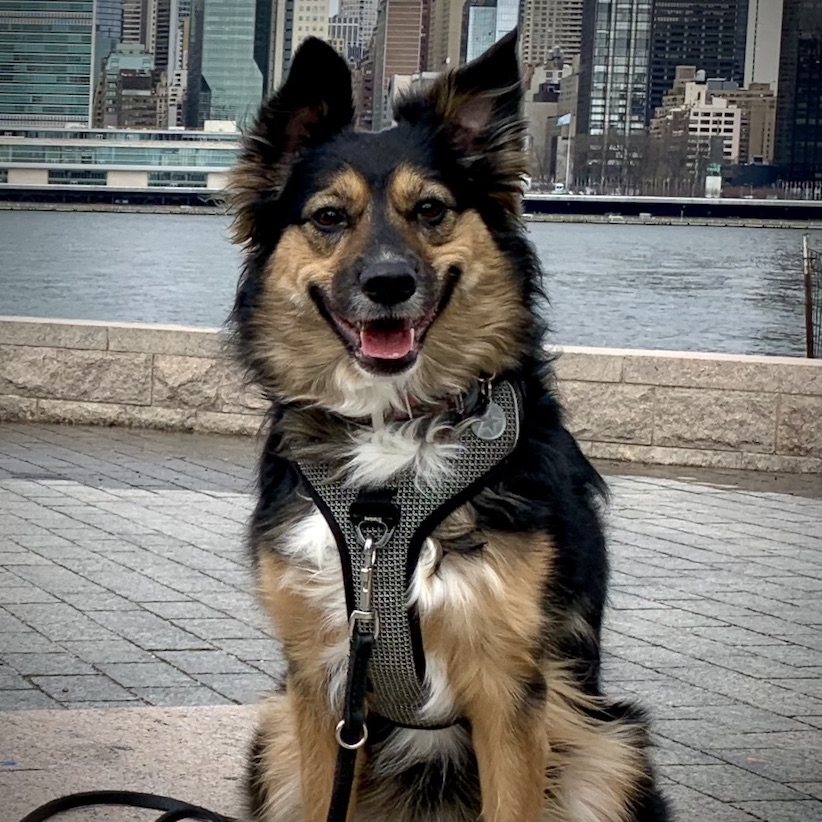
True Love Adjustable No-Pull Harness
This is a Y-shaped padded mesh harness. The harness slips over the dog’s head, then is clipped around the body. The leash can be attached to a D ring on the front of the dog’s chest, and/or the D ring on the back of the harness. The Y-shape makes it more comfortable for the dog and means it doesn’t interfere with the dog’s shoulder movements.
The harness is a thick and well-padded; it makes it less likely to twist but long-haired dogs may find it uncomfortable in hot weather. Because it’s more comfortable around the shoulders, the anti-pull isn’t always as effective as a “straight-across” harness; however, it is a better long-term harness candidate (due to the Y-shape being better for the dog’s shoulders).
At Amazon
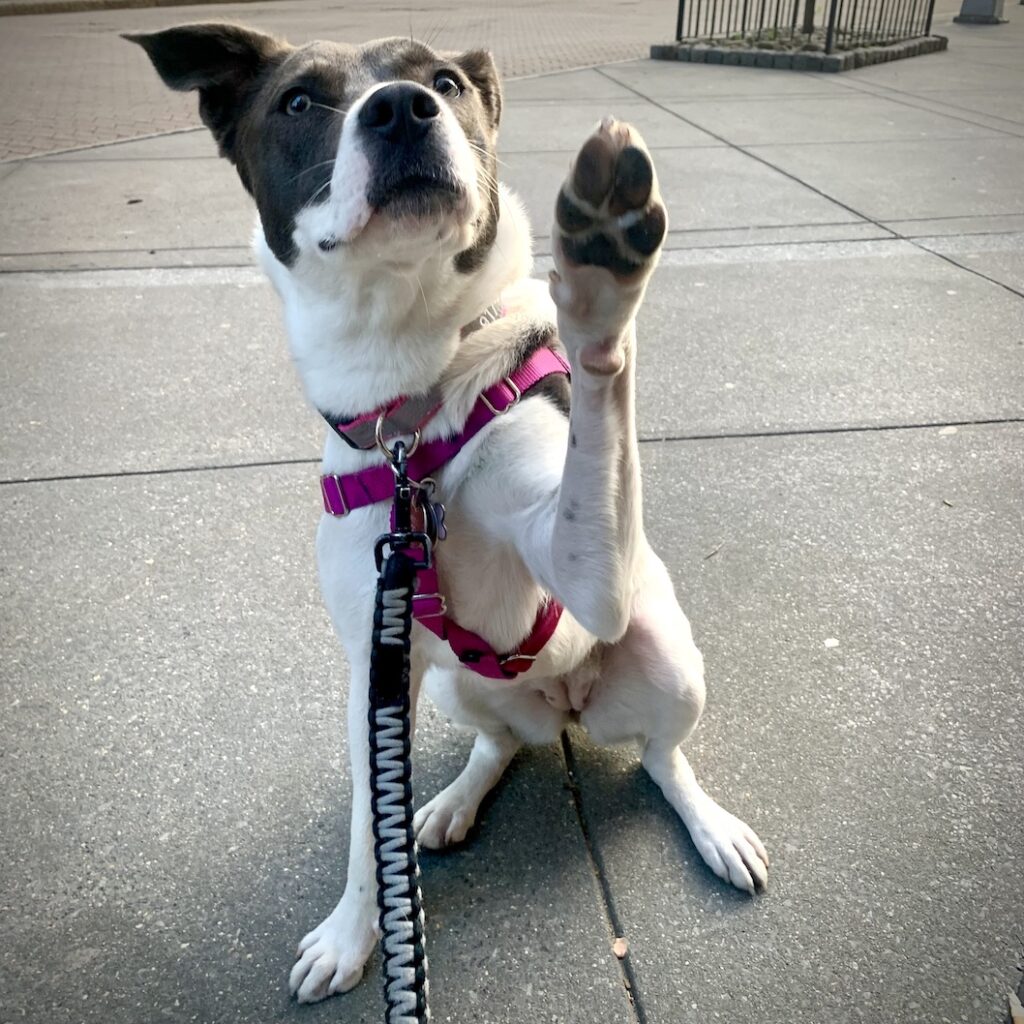
2Hounds Design Freedom Harness
This is a nylon harness shaped much like the Easy Walk harness, but it has an additional strap between the dog’s front legs; this helps keep the belly strap from rubbing on the armpits so much. The belly strap is also made of a velvety material to help prevent chafing. The harness slips over the dog’s head, then is clipped around the body. The leash can be clipped to the D ring on the front of the chest, and/or the martingale D-ring on the dog’s back. The brand also manufactures a 2-ended leash (or you can use your own).
This harness can twist and interfere with the shoulder movement if you just use the front clip; it really works best if you use two points of connection. It can be challenging to get the fit right, but the company is helpful if you need feedback.
At 2Hounds Design
At Amazon
PetSafe 3-in-1 Harness
This is a Y-shaped nylon harness. The harness can be slipped over the dog’s head and then clipped around the body, OR it can be clipped around the neck and body (this can be a good option for dogs with body sensitivities). The leash can be attached to a D-ring martingale on the front of the dog’s chest, and/or the D ring on the back of the harness.
The nylon can cause chafing on some dogs, and it isn’t necessarily intuitive to size and use. (I’m pretty savvy with dog gear, and this harness took me several rounds to get right). But it’s a nice long-term harness with a lot of adjustability.
At Chewy
At Amazon
Using the front and back clips
How to use both the front and back D-rings on your dog’s harness:
Utilizing either a double ended leash, or two leashes together, you can improve your ability to steer and redirect your dog effectively. This can be especially helpful when you have a reactive dog: the front clip harness tends to twist when a dog lunges forward, so the additional back clip provides balance and control.
The front clip attachment will be the most effective at stopping your dog from lunging forward - tighten up the leash/apply pressure on the front clip to help interrupt and redirect their attention.
If your reactive dog goes over threshold and you need to pull them out of the situation, the double-ended leash/two connection points make it easier to remove the dog quickly and safely.
Pressure on the back clip attachment can encourage forward momentum due to the opposition reflex - if you have a nervous dog who tends to “put on the brakes”, tighten up on this section on leash when you want your dog to walk forward confidently.
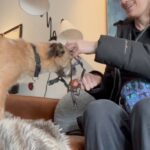
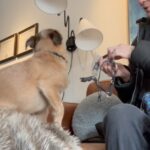
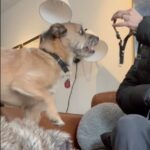
For Dogs Who don't like the harness
Equipment sensitivity can have a number of causes, including genetics, association with medical handling, or physical injury. For these dogs, use this shaping game to condition them to willingly put their head through the harness.
1. Hold the harness so that the neck/chest opening is as wide as you can make it.
2. Position it a short distance away from your dog with one hand; use your other hand to hold out a fist containing a treat.
3. Show the dog the treat and use it as a lure to get the dog to put their nose through the opening. They don’t have to put the harness all the way on - we just want them initiating movement and putting their nose through the opening.
The dog may sniff and poke around the harness without approaching the opening; keep your fist closed while the dog tries this.
4. When the dog’s nose goes through the opening, even slightly, open your hand to show your dog the treat, and allow them to take it. Don’t move the harness at all; allow the dog to pull their head back out of the harness.
5. Repeat 3-5x, then toss a treat a short distance away. As the dog returns from chasing the treat, present the same harness opening, with your fist lure on the other side of the harness.
6. It’s likely that the dog will try to dodge the harness opening; that’s okay, we expect that! Keep your fist closed and let the dog try to work it out.
7. When the dog is beginning to understand the game, start moving the harness and lure around. If the dog has to “chase” the target, it will build drive and enthusiasm.
Allow the dog to take breaks; if they walk away, make a big fuss about the treats you have, and resume the game when they return.
When it's time to actually put on the harness, I prefer to put treats on the ground in front of the dog. I make sure that the clips are lined up properly, and that my hand is between the clips and the dog's skin. Accidentally pinching the dog with the equipment will set them back.
When the dog is reliably putting their head through in response to the visual cue (open harness with a hand target), you can add a verbal cue, such as “Get dressed” or “Harness on”.
Back Clip Harness
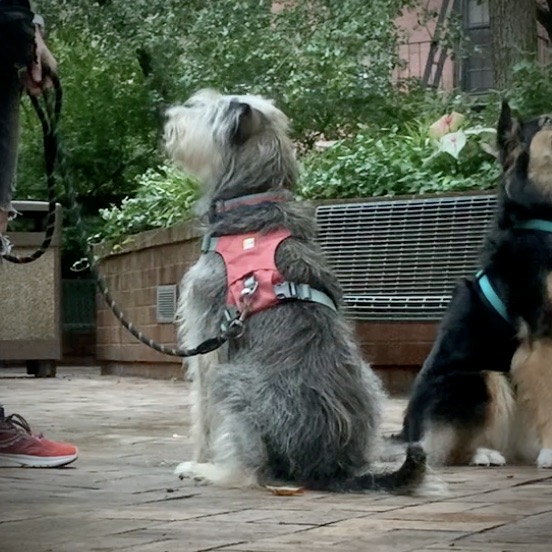
This kind of harness is the best for relaxed walks, dogs with sensitive tracheas, or lower energy dogs. Some are Y-shaped and slip over the dog’s head; others are step-in harnesses. Either way, the leash is clipped to a D ring (or rings) on the back).
When it comes to needing to redirect a dog’s attention, the back clip offers the least amount of physical control. But I find it useful when teaching puppies or nervous dogs to walk. I also use the back clip when exercising the dog on a long line (~10 - 30 foot leash).
Common Recommendations:
PetSafe Sure Fit Harness (pictured top)
Ruffwear Hi and Light (pictured bottom)
Ruffwear Frontrange
